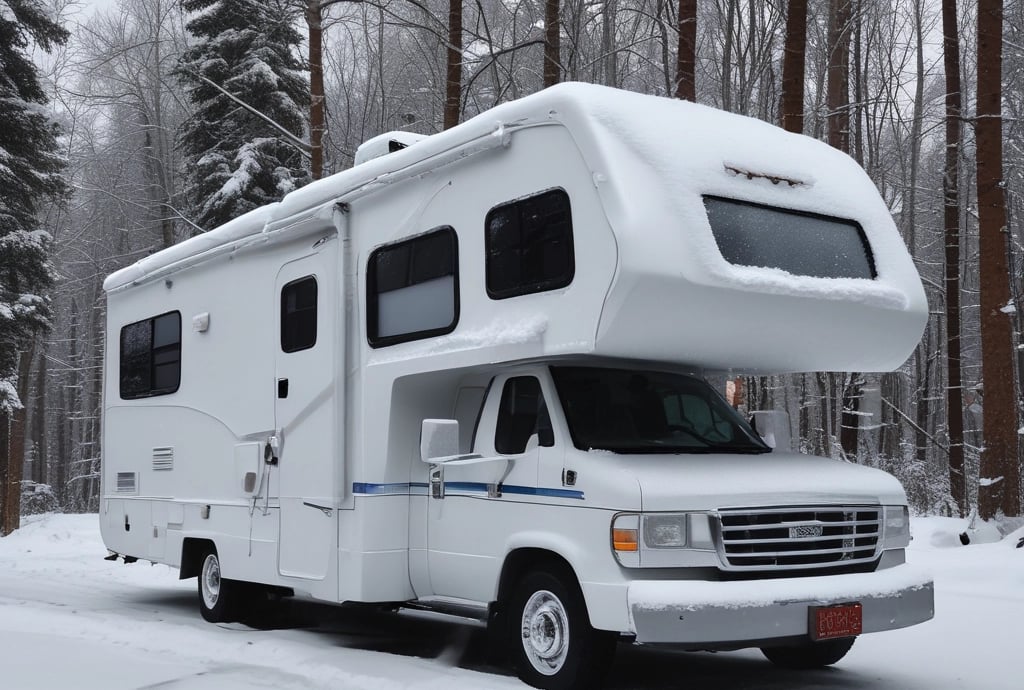
How to Winterize Your RV: Step-by-Step
As the crisp fall air rolls in and camping season winds down, it’s time to protect your RV from the cold months ahead. Winterizing your RV may sound intimidating if you’re new, but it’s really just about preventing damage from freezing water, protecting your systems, and keeping your RV in top shape for spring. This step-by-step guide will walk you through the basics so you can confidently winterize your RV no guesswork required.
David Kroeger
9/15/20253 min read
Why Winterizing Matters
When temperatures drop, any water left in your RV’s pipes, tanks, or fittings can freeze, expand, and cause costly damage. Cracked water lines, busted faucets, and broken pumps can turn into hundreds (or even thousands) of dollars in repairs. Spending a little time now to winterize saves you money and stress later.
What You’ll Need
Before you begin, gather a few essentials:
RV antifreeze (non-toxic, pink kind, NOT automotive antifreeze) Link: https://amzn.to/4pnQ9Uz
Water heater bypass kit (if your RV doesn’t already have one) Link: https://amzn.to/4mlfwn7
Basic tools (screwdriver, wrench, pliers, bucket)
Water pump converter kit or a short piece of tubing Link: https://amzn.to/3Idy62M
Gloves and a flashlight (makes things easier!) Link: https://amzn.to/47KEMzJ
Your RVs User Manual
Step 1: Remove or Bypass Water Filters
Remove or bypass any water filters in your RV. RV antifreeze can damage water filters.
Step 2: Drain the Water System
Turn off the water pump and disconnect from city water.
Open all faucets, showers (inside & outside), and low-point drains.
Empty the fresh water tank.
Drain and flush the water heater (but make sure it has cooled down first).
Drain and clean The Black Water Tank. If your RV does not have a tank flushing system, use a wand to clean the Black Water Tank.
Drain the Gray Water Tanks after the Black Water tank. This clears the Sewer hose of most waste.
You can also use a Reverse Flush Valve to help clean the tanks. Link: https://amzn.to/4gtUOjQ
Tip: Open the pressure relief valve on the water heater to help it drain faster.
Step 3: Bypass the Water Heater
If you don’t already have a bypass installed, add one. This prevents gallons of antifreeze from filling your water heater (wasteful and expensive). It also helps make De-Winterizing easier for your next RV season.
Step 4: Add Antifreeze
Install a water pump converter kit (or use tubing). The Kit will have instructions to use it properly.
Insert the tubing into the RV antifreeze bottle.
Turn on the water pump to pull antifreeze into the system.
Open each faucet (hot and cold) one at a time until pink liquid flows out.
Don’t forget the toilet, outside shower, and washer/dishwasher hookups (if equipped).
*Some people like to use compressed air to clear water lines. If you do this do not go over 50 PSI. If you choose compressed air make sure you still bypass water filters and the hot water heater.
Step 5: Finish Up
Pour a little antifreeze down each drain and into the P-traps.
Pour about a cup into the toilet bowl and flush it into the holding tank.
Make sure all faucets are closed.
Bonus Steps for Extra Protection
Battery: Disconnect and store in a cool, dry place.
Propane: Shut off the tanks.
Prepare for Snow: Check your RV roof, doors, windows and seals that could allow water intrusion.
Look for rodent entry points: To keep rodents out during storage.
Interior: Remove food, clean thoroughly, and leave moisture absorbers to prevent mold.
Tires: Inflate to proper pressure; consider tire covers if storing outside. Link: https://amzn.to/3K2sVTW
Common Mistakes to Avoid
Forgetting the outside shower a common freeze point!
Using the wrong antifreeze (automotive = toxic).
Skipping the water heater bypass wastes gallons of antifreeze.
Wrapping Up
Winterizing your RV doesn’t have to be overwhelming. With a little preparation and the right supplies, you can do it yourself in an afternoon and rest easy all winter. When spring arrives, you’ll be ready to de-winterize, load up, and hit the road without costly surprises.
This post contains Amazon affiliate links. I may earn a small commission at no extra cost to you
Ready to learn more? Check out my RV maintenance guides, checklists, and resources at enlightenedrvlife.com.com